TCM measuring device for the wear measurement of hobs:
In TCM tool management projects, where gears are produced in high volumes, naturally large quantities of hobs are in use.
These high-performance hobs are made of powder metallurgical tool steel, or solid carbide, depending on machining soft and hardened steel materials, and must be PVD coated.
In most cases, gear hobbing causes the highest tool costs in gear manufacturing. Gear hobs are therefore among the most expensive tools, which also have long delivery times of 10 - 14 weeks. Therefore, special attention must be paid to the regrinding of these tools.
In the best case, hobs can be reground and recoated 14 to 16 times depending on wear. TCM's in-house grinding shop in Polkowice has been optimally equipped now for this purpose.
By use of modern CNC grinding machines, both the pitch accuracy of the tooth rows and the necessary surface qualities on the rake face of the profile cutting teeth, can be ground now with the highest precision. After grinding, the cutting edges have to be deburred and rounded in the mµ range. After the cutting edge treatment, the hobs are PVD coated and finally measured.
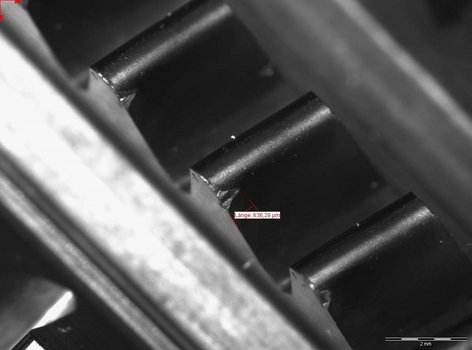
The wear measurement on the profile cutting teeth, which have to be done before regeneration of hobs, is of particular importance during regrinding. Ideally, the tool life of the hobbing cutter in the milling machine must be set so that the flank wear on the profile teeth does not reach a value of more than 0.06 - 0.08 mm. Thus, with a grinding amount of 0.1 mm, all cutting edges can be optimally sharpened again, and the highest number of regrinds per hobbing cutter can be achieved.
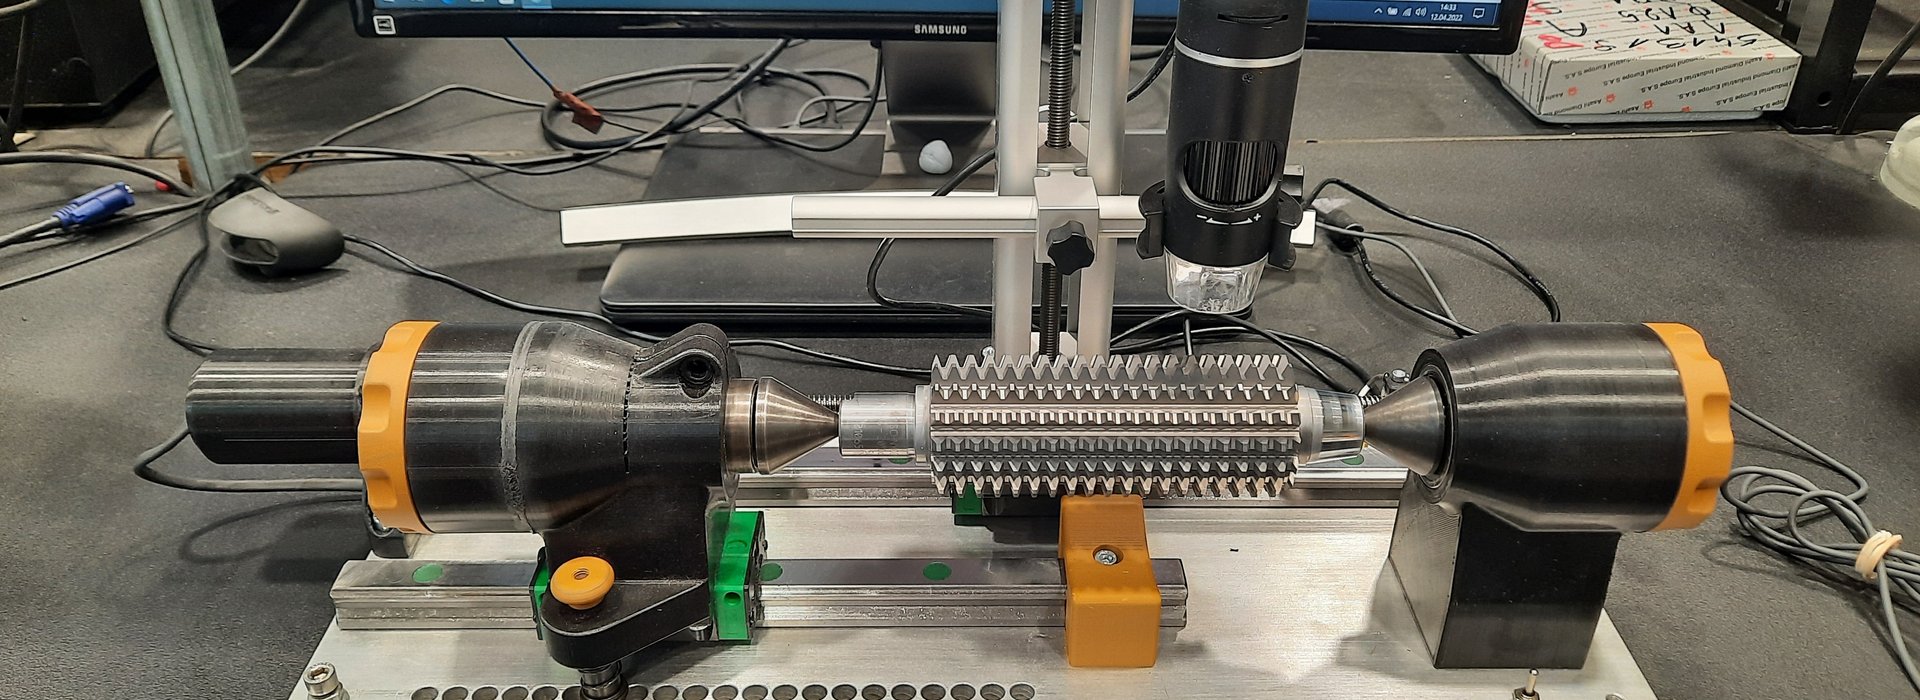
In order to quickly determine the optimum number of regrinding individually for each hob, TCM engineers have developed a new, functional measuring device.
With this device, the individual teeth or rows of teeth can be visually inspected by the tool grinder directly in front of the grinding machine in a short time.
For this purpose, the hobs are rotatably clamped between two centering points. A USB microscope with measuring function is mounted on a linear guide by means of an adjustable stand. By rotating the hob and moving the USB microscope left/right, the maximum wear can now be watched quickly and easily. The image magnification can also be changed using the USB microscope.
The housing components for holding the centering tips were additively manufactured from plastic. The USB microscope can be moved at various speeds above the hobbing cutter using a small electric motor and a threaded spindle. The centering tips are adjustable in length to handle hobs of different lengths and diameters. The cost of this measuring device is only one tenth of the cost of a measuring microscope!
The benefit of this measuring device is, that after the wear measurement, that only the allowance that is necessary to remove can be ground away. This results in a larger number of regrinding cycles per tool, more manufactured parts per hob and also reduced grinding times in the TCM service center.

With more than 40 years of broad cutting experience, TCM is an attractive technology partner.
oscheibenbauer@tcm-international.com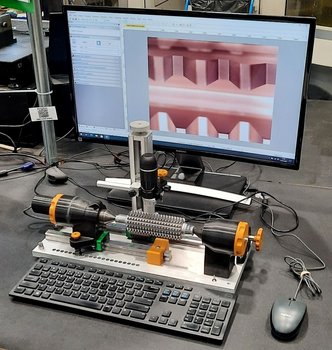
Wear measurement of a hobbing cutter
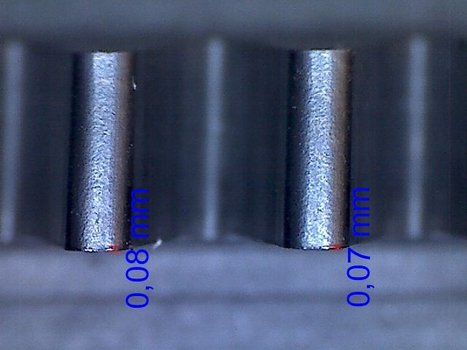
Optimum wear on the hobbing cutter
