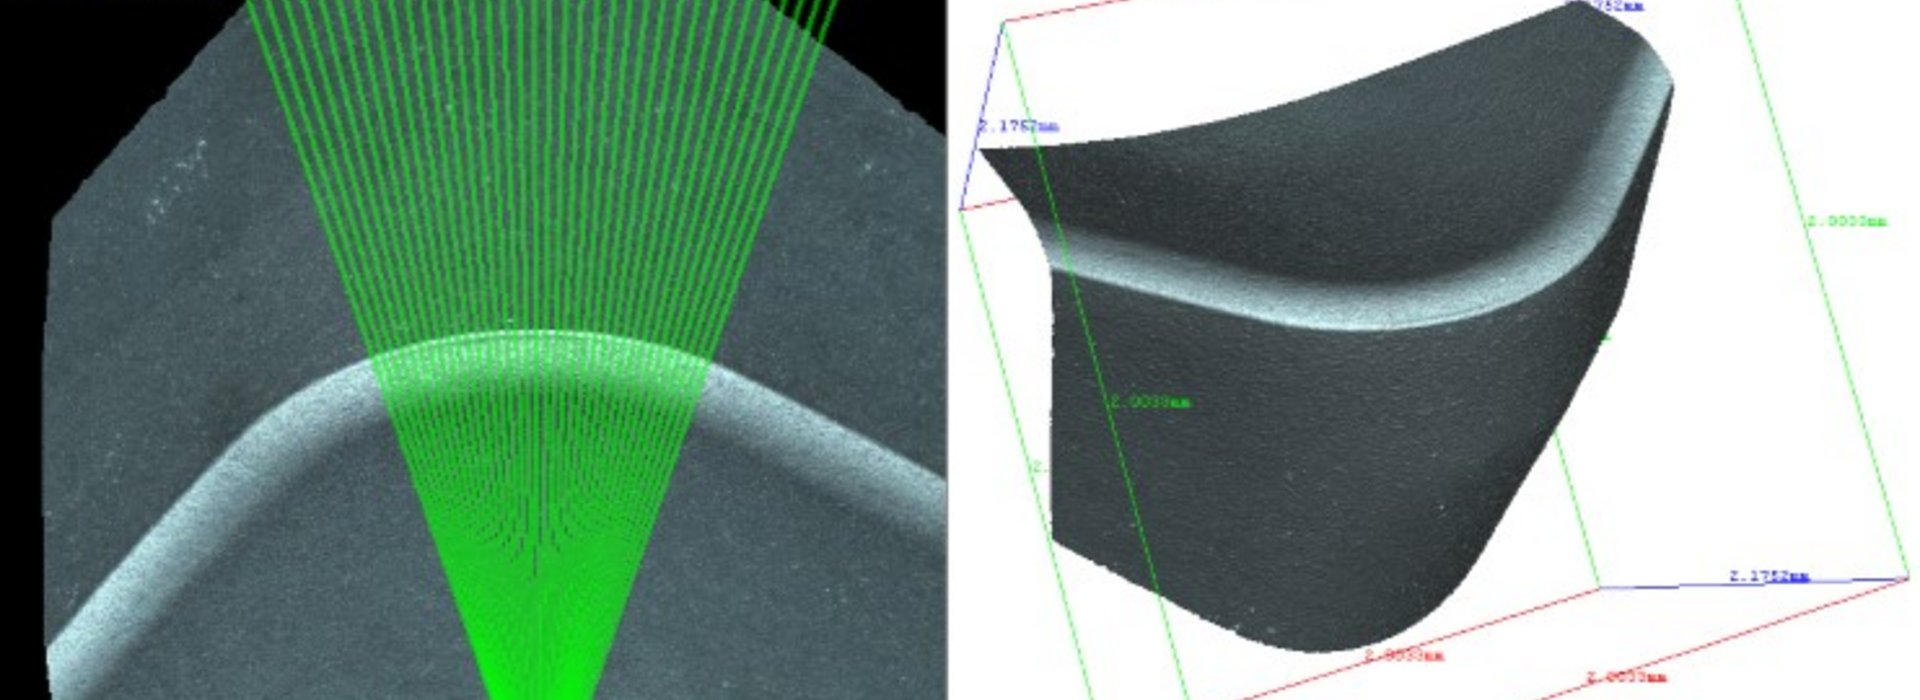
Smart cutting edge inspection with 3D microscopes
Thanks to TCM, in the future everything will always be as sharp as it needs to be - so that your productivity and quality will run at the highest level. How is that possible? With the aid of 3D microscopes, the visual and automated inspection of the condition and rounding of tool cutting edges is carried out after regrinding and before the coating of the carbide tools. This new measuring technology is a milestone for the process optimization of industrial companies and especially in the tool industry – particularly due to the extremely high degree of automation.
Measurement technology increases your productivity
Measuring technology has become an integral part of quality assurance. However, its seamless implementation also brings challenges, because measurement systems must be 100% automatable, so that just one production employee is sufficient for the operation. The high resolution of the measurement results due to the lowest error tolerances and the trouble-free implementation in the entire production process are almost self-evident.
With real-time data: rejects are nearly zero
But the effort is worthwhile - not only in the cutting edge inspection:
> traceable measurements at any time
> repeatable measurement results thanks to compatible interface
> lossless communication with participating systems
> valuable real-time data from production trends
Scrap is reduced immensely - good parts from the beginning.
Let TCM support you on this journey!
Measurements on a fully automated basis
With the automatic measurement and evaluation of various component features and formal parameters, the cutting-edge measurement series can be performed by just a single operator - with a single-button solution: purely intuitive and without any programming knowledge. When reprocessing the tools, the created measurement protocol provides the machine operator information concerning the produced cutting edge quality or possibly corrections and changes in the microgeometry that need to be made.
Measurement planning & database management
By means of a so-called CADCAM connection, measuring points and measuring directions are already defined in the CAD model of the tool - later time-consuming definition is no longer necessary. Especially with complex cutting geometries this is a huge advantage:
> All measurement data can be merged for user-specific reports
> Easier control of the constant production quality
> Early detection of deviations for responsive corrective actions
Can be coupled to the QM and / or ERP system
Measurement results can be fed into the QM system. Production managers at our service grinding centers have access to all manufacturing data and can identify trends and react to them all over the globe. This is how TCM guarantees the production of an identical quality of tool cutting edges in all TCM grinding shops.
This high quality of tool cutting is the basis for the uniform achievement of a defined service life and high process reliability, both of which are indispensable in mass production. TCM will be happy to show you more!
Ready for Industry 4.0
In the course of Industry 4.0, the adaptive production planning or self-controlling production should be realized by networked machines and measuring technology. To do this, it must be integrated into the networked production chain in order to allow measuring equipment and production machines to interact - autonomous measurements and tests are no longer a dream of the future.
Oswald Scheibenbauer
Manager Engineering
"As an industrial company with state-of-the-art measuring technology, you can increase your output and increase your qualitative efficiency at the same time - together we will optimize your production significantly."

With more than 40 years of broad cutting experience, TCM is an attractive technology partner.
oscheibenbauer@tcm-international.com